I spoke too soon in my previous post when I said that I was finished with grinding and other demolition. A closer examination revealed the need for a bit more deconstruction before I'd be able to start patching things back up. This post covers three sessions of work.
 |
| I cut back still more loose, thin material from the stern. Even though there was still material that should have come out, eventually I had to stop in order to maintain the basic shape of the hull. Still, that big gap is a couple of inches long and an inch wide where it goes all the way through, and its full length in the outer surface is about eight inches. |
 |
| I used a saber saw to open up a couple of cracks in the bottom, amidships, that extended all the way through the hull. Being slightly wider, the crack will now be easier to fill properly with epoxy. I used a chisel to bevel the edges of the crack to increase the surface area for bonding. |
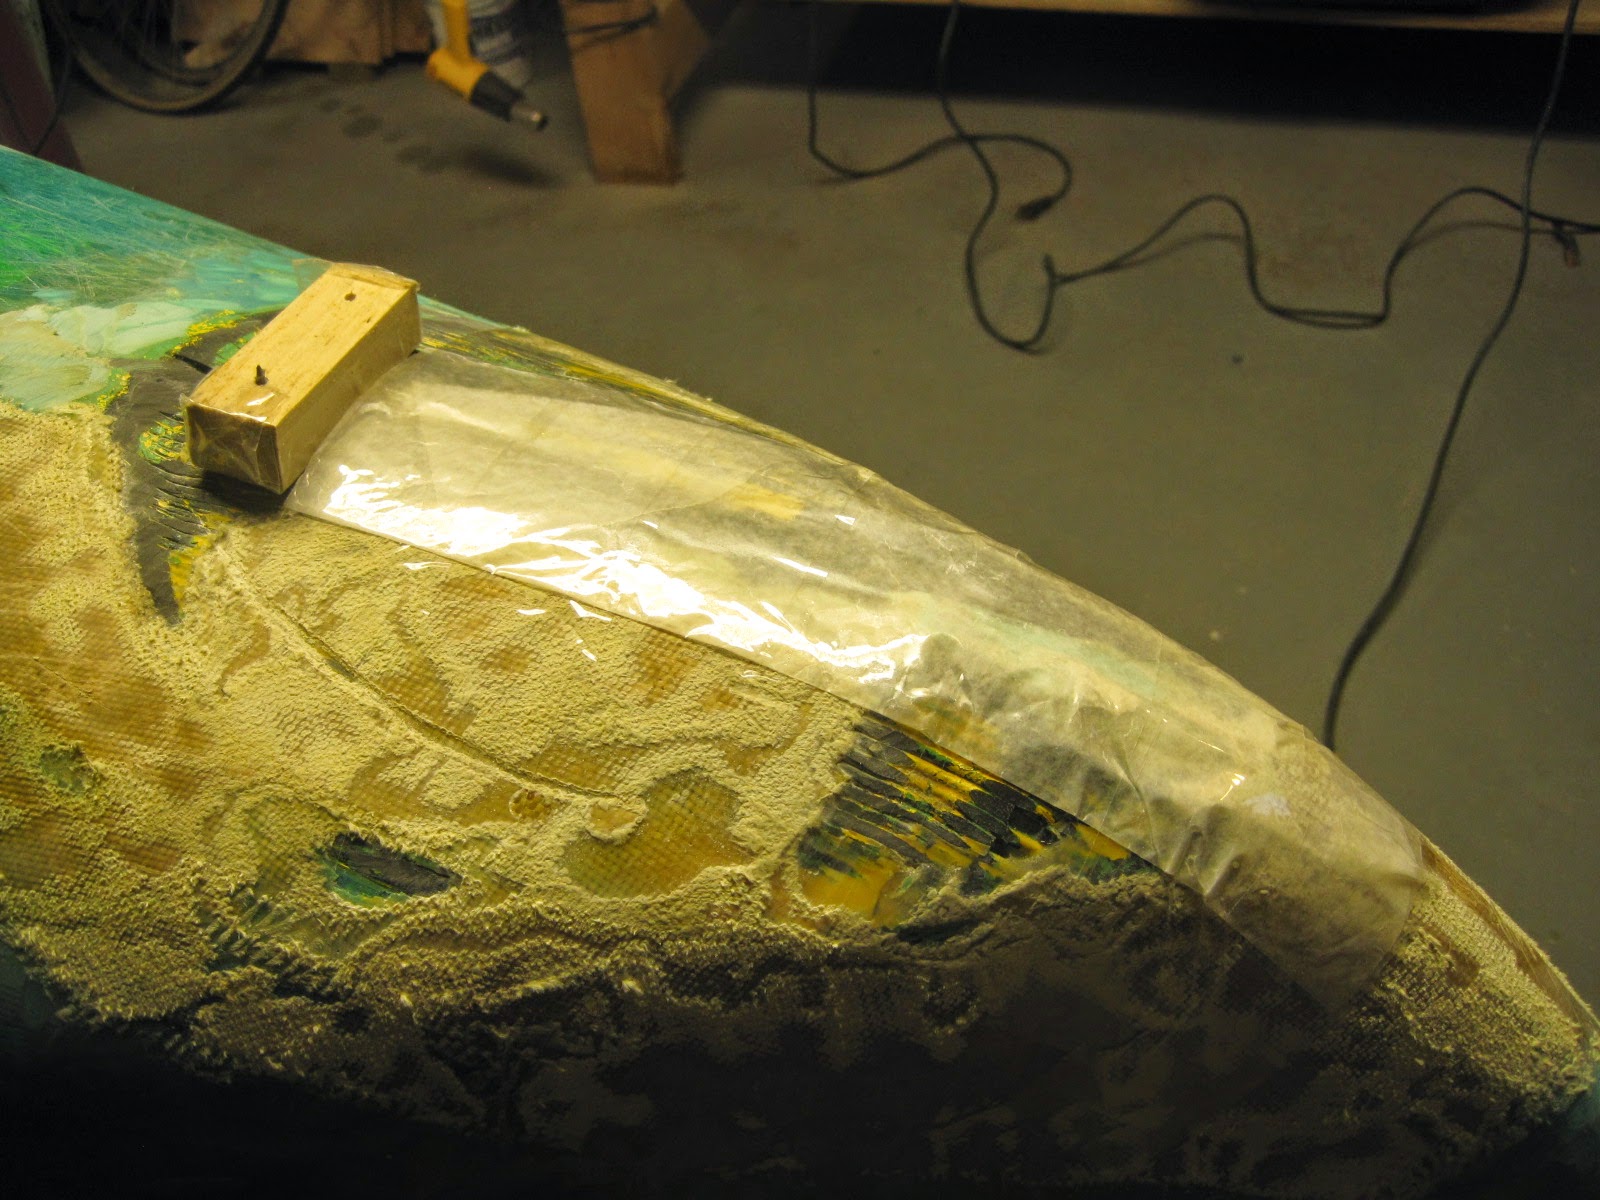 |
| Back at the bow again. The hull was warped so that the two sides of the gap didn't line up. I screwed a cleat across the gap to bring them into alignment, placing some plastic packing tape on the underside of the cleat so that epoxy won't stick to it. Then I covered the gap with two layers of waxed paper and taped it into place. I did the same with the cracks amidships. |
 |
| Here are the materials I'm working with at this stage: West System G-Flex epoxy (in bottles), and G-Flex filled epoxy (tubes), plus colloidal silica as a filler. I've used regular West System epoxy before, but this was my first experience with G-Flex. Even the "liquid" version is very thick and difficult to stir. The filled version is nearly the consistency of a paste. |
 |
| More materials and tools: latex gloves, paper cups and bowls, mixing sticks, acetone (for cleanup of tools and drips: not for skin). Turns out the G-Flex is too thick to use with the syringes (package at center). Not shown but also important: acid brushes, plastic spreaders, waterless hand cleaner. |
 |
| I started working with the liquid epoxy, filling the smaller cracks and coating the surfaces of the larger ones. In order to improve flow, I warmed the epoxy in the mixing cup with a heat gun before brushing it on with an acid brush. First I coated the outside of the stern, making sure that the striations from the plastic welding were well-coated. Then I turned the hull over and did the midships cracks from the interior (shown). |
 |
| I mixed a batch of the filled epoxy but quickly realized that even that was a little too runny for the large gap in the stern, so I added a heaping tablespoon of colloidal silica. It was hard to mix the light, fluffy filler into the stiff paste, but after a lot of stirring, I was able to achieve the consistency of peanut butter. This served nicely when applied with a plastic spreader, and the waxed paper on the outside sufficed to keep it from falling through. Notice the screw heads holding the cleat on the outside of the hull: I tried to avoid getting epoxy on them, to make them easier to remove. |
 |
| G-Flex has a long cure time even at 70 degrees, and the basement where I'm working is considerably cooler than that, so I set up a tent over the canoe using tarps and insulation board, and placed an oil-filled electric heater (no fire hazard) inside it to hasten the cure. |
 |
| Three hours later I untented the boat, flipped it over, removed the waxed-paper patches, and filled the gaps and depressions on the outside with filled epoxy, applying it in two layers with a tent-cure in between. This is the midship patch after the second application, now ready for a light sanding and covering with kevlar. |
 |
| The filled epoxy on the inside was enough to hold the edges of the stern gap in alignment, so I was able to remove the cleat before applying filled epoxy. This photo shows two epoxy applications in place after curing. Although I tried to apply the paste as smoothly and evenly as possible, the hardened surface is (inevitably) somewhat rough. This will all be covered by a fresh layer of kevlar, and then much of it by a skid plate. I won't decide how much of the patch to sand and grind until I've received the skid plate kit. |
No comments:
Post a Comment